
What’s more elegant and classy than etched glass? Plain glass can get a whole new look with a simple etching application, which is why we created something new for Maker Monday: The All Things Etching Bundle. In the bundle, you get A Makers’ Studio Etching Cream, a stencil, and an artist brush that you need to take glass from dull to decorative.
Don’t know what glass etching is? Etching is a process of essentially “eating away” at glass to wear it down to a flatter, less translucent material. Glass etching cream is permanent and dishwasher, microwave, and food-safe. Glass etching works on anything made from glass, including Pyrex dishes, plates, cups, vases, champagne flutes, serving dishes, mirrors, and more.
If you want to learn how to etch glass with beautiful quotes, monograms, or even decorative designs, this episode of Maker Monday (and our All Things Etching Bundle!) is for you:
MATERIALS YOU’LL NEED
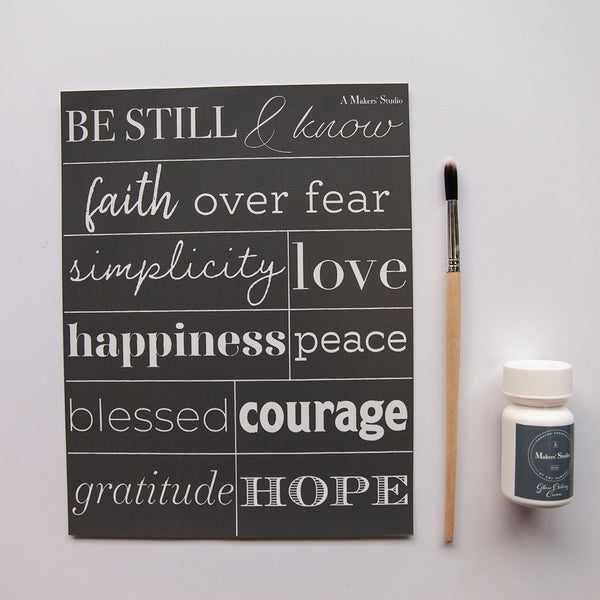
The All Things Etching Bundle, which includes:
You’ll also need a glass surface of your choice, whether it’s a vase, a plate, or something else!
HOW TO ETCH GLASS WITH ALL THINGS ETCHING BUNDLE

Lay your stencil on your glass surface, paying close attention to how well your stencil sticks. Feel free to use tape if you’re worried about etching on the edge of your stencil, too. Shake your etching cream really well, as it does settle over time. Then, dip your stiff artist’s brush into the etching cream and paint it on very thick. You may need to apply the etching cream multiple times to get thicker layers on your stencil, even up to 1/8th of an inch! Also be careful to not get etching cream anywhere but on your stencil, as it will leave etching marks wherever it touches. The more you agitate your etching cream with your brush, it will break down the glass faster and make your stencil transfer much more successful. Leave the cream on for 3 to 5 minutes, then pull your stencil off. Make sure to wash your stencil and artist brush with soap and water, then they can be used for another etching project!
Your new glass design is also ready to use in 45 minutes to an hour. Pretty simple, huh?
MORE FROM MAKER MONDAYS

Etching gives glass such a classy, high-end look. Etch virtually any glass surface with this etching cream, whether it’s for your home or for a gift. Because it’s such a simple technique, you can do this as a quick addition to your potluck dishes, before delivering flowers in a glass vase, or personalizing glasses for a party! The options are endless, so get creative and share your ideas with us.
Don’t forget that you can get this stencil, the container of etching cream, and an artist brush in our All Things Etching bundle, which is a real steal! We’ll also see you back on Facebook every Monday at 10am Central time with a new project, bundle, or technique to show you so you can craft a beautiful life. Follow and “Like” our Facebook page if you want notifications when Maker Monday goes live!
Leave a comment